
How to Winterize a Chicken Coop: A Practical Cold-Weather Checklist
Winterize your chicken coop the safe way: block drafts, keep ventilation, set up bedding and unfrozen water, and decide if heat is needed.
 Save
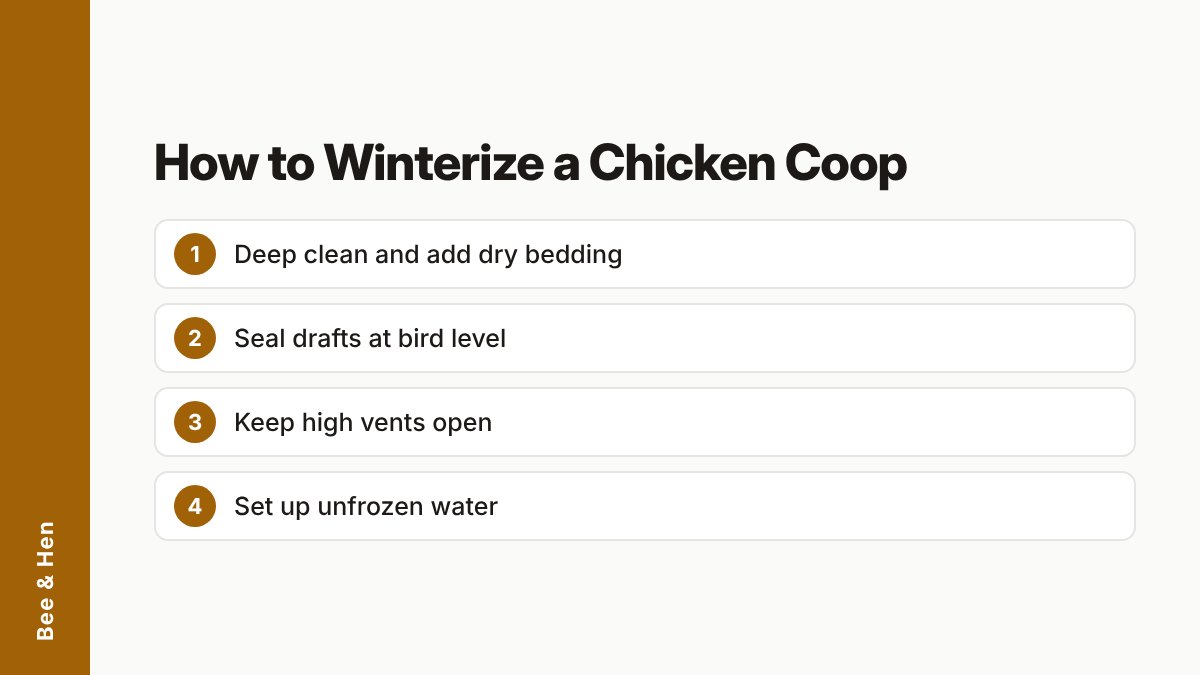
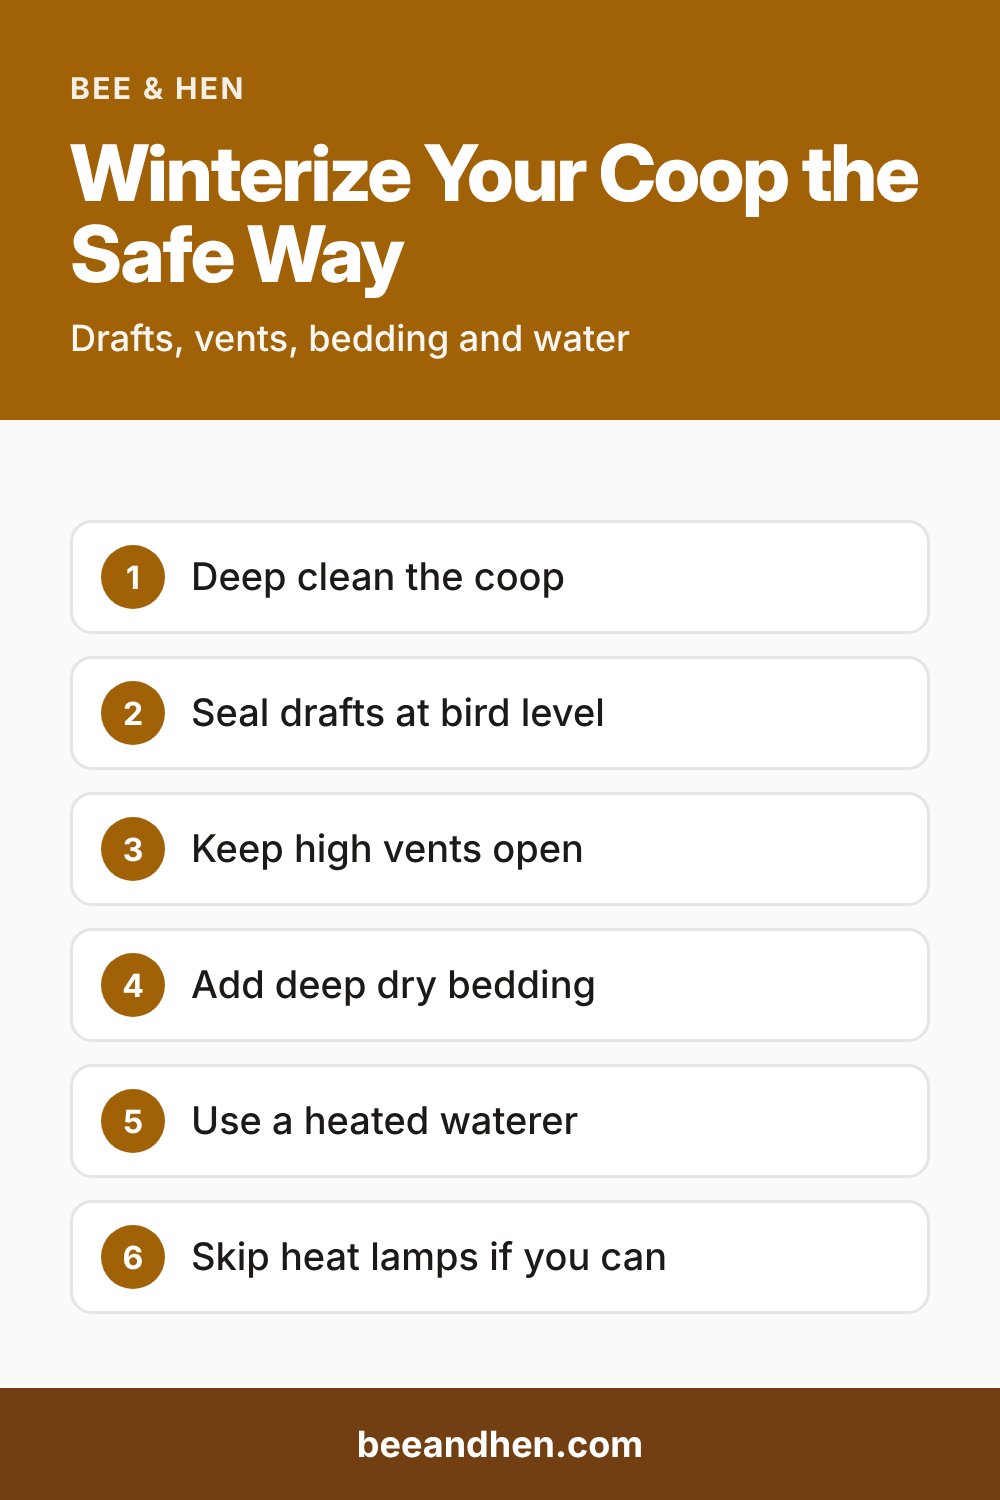
To winterize a chicken coop, stop cold drafts at bird level, keep high vents open so damp air can leave, add deep dry bedding, and make sure the flock always has unfrozen water. Most backyard flocks cope with cold well when the coop is dry and wind-free. Moisture, not low temperature alone, is the bigger problem.
Do this work in November, before the first hard freeze, so each fix is ready when you need it.
Quick answer: the winter coop checklist
| Job | What to do | Why it matters |
|---|---|---|
| Block drafts | Seal gaps, cracks and knotholes at bird level | Wind strips away the warmth birds build up |
| Keep ventilation | Leave vents high up, away from the prevailing wind | Lets out moisture and ammonia |
| Bedding | Add a deep, dry layer on the floor | Insulates and absorbs manure moisture |
| Water | Use a heated waterer or swap ice out often | Hens stop eating without water |
| Roosts | Wide, untreated wood roosts | Cold metal or plastic can cause frostbite |
| Heat | Skip it unless truly needed | Fire risk with bedding and dust |
| Daylight | Plan for shorter days | Egg laying slows as daylight drops |
Why moisture is the real winter enemy
Chickens are well insulated by their feathers and hold a body temperature of about 106°F (41°C). A healthy, acclimated bird can handle cold. What hurts them is cold combined with damp air.
Chicken manure is roughly 70% water, so a closed-up coop fills with humidity overnight. That moisture condenses on walls and settles on combs, wattles and feet, which are the parts most prone to frostbite. Damp litter also gives off ammonia, and the Ohio State extension notes that ammonia buildup can lead to respiratory disease.
That is why winterizing has two goals that seem to pull against each other: stop cold wind, and still let humid air out.
What you need
- Caulk, hardware cloth or wood scraps for gaps (keep any spray foam or caulk out of the birds’ reach until it has cured)
- Dry bedding: pine shavings or straw
- A thermometer for the coop
- A heated waterer or heated base made for poultry, plus a spare waterer
- A tarp or heavy plastic for open run sides
- A broom, scoop and bucket for a deep clean
Step-by-step: how to winterize your coop
- Do a deep clean first. Remove old, damp bedding and manure, and scrub or scrape the surfaces. Starting with a dry, clean coop means the new bedding does its job from day one.
- Find the drafts after dark. On a windy evening, check for air leaks at night with a light on inside. Seal holes, door gaps and cracks at roost height and below. Use hardware cloth over any opening a predator could use.
- Set up ventilation high and away from the wind. Vents or a small window covered with burlap work well when placed on the side away from prevailing winds and kept small enough that predators cannot enter. Air should move above the birds’ heads, not across them.
- Cover open run sides, but not all the way. A tarp or heavy plastic windbreak on the windward side of a fenced run helps. Leave a gap below the roof line so air can still circulate.
- Add bedding in the coop and the run. A layer of 4 to 6 inches of straw or shavings is the “deep bedding” approach. Stir the top layer regularly and add fresh material. A kickboard of 6 to 8 inches at the doorway keeps it inside. If your run is enclosed, bedding there gives the flock a dry place to stand.
- Check the roosts. Use untreated wood such as a 2x4 or 2x2 and avoid metal or plastic, which hold the cold. Roosts should sit at least 12 inches off the floor. Extension sources differ slightly on how much space each bird needs (roughly 6 to 9 inches), so give them the larger figure if your coop allows it.
- Set up water that will not freeze. Use a heated base or a heated plastic waterer made for poultry, stand it on a block so bedding stays out of it, and keep the cord and element clear of litter. Check water morning and evening, and keep a second waterer to swap in. Automatic nipple systems can freeze unless heated or insulated, and leaks add humidity.
- Put a thermometer at roost height. It tells you what the birds actually experience rather than guessing from the weather forecast.
- Remove snow from the run. Shovel a path or a patch so birds have somewhere to scratch, and keep straw areas dry.
- Plan for light and feed. See the sections below.
Should you heat the coop?
Usually not. The University of Minnesota Extension suggests considering added heat only when coop temperatures fall below about 35°F (about 2°C). Ohio State says supplemental heat is often unnecessary if birds are acclimated, the coop is dry and insulated, and ventilation is adequate. University of New Hampshire Extension generally discourages it because of fire risk, especially with flammable bedding and birds that knock things over.
If you decide you need it, for example for bantams or a very cold climate:
- Choose a radiant panel or plate made for poultry rather than a basic heat lamp. Radiant heat warms the birds rather than the air.
- If you do use a heat lamp, use a proper heat bulb in a protective cage, and never hang it by its cord.
- Keep wiring where chickens cannot reach it, away from water and bedding. Do not power a coop with a long-term extension cord. Have a licensed electrician do any permanent wiring.
- Heated waterers can also fail, so inspect cords and bases regularly.
Feed, light and eggs in winter
| Topic | Winter guidance |
|---|---|
| Feed | Birds can eat up to about 25% more in cold weather, so keep feed available all day |
| Late-day treat | A little scratch grain in the afternoon gives them something to digest overnight |
| Grit | Provide it, because snow and straw cover the pebbles birds usually find |
| Daylight | Egg laying slows below about 14 hours of daylight |
| Added light | A low-heat LED lamp can bring the day to 14 to 16 hours |
| Egg collection | Collect once or twice a day so eggs do not freeze and crack |
Lighting is optional. Some keepers let hens rest through the darkest weeks. If you add light, use a low-heat LED and keep it and the wiring safely out of reach.
Common winter coop mistakes
- Sealing the coop completely. A tight coop with no vents traps damp air and ammonia. Stop the drafts, not the airflow.
- Putting vents low. Air moving across roosting birds is a draft. Vents belong high up.
- Using metal or plastic roosts. They stay cold and raise frostbite risk.
- Letting waterers freeze. Birds that cannot drink eat less.
- Leaving wet bedding in place. Remove damp spots as soon as you see them.
- Relying on heat lamps. They carry a fire risk, especially with dry bedding.
Signs of trouble
Watch for birds huddling, lifting a foot, or staying fluffed up all day, which can mean cold stress. Add bedding, check for drafts, and confirm food and water are available. Frostbite shows up as gray, black or brittle combs, wattles or feet. Petroleum jelly on the comb and wattles on very cold nights can help insulate them but does not treat frostbite. Large combs, especially on roosters, are at higher risk. If you suspect frostbite or see signs of infection, see a veterinarian. Separate any frostbitten bird that others are pecking.
Also keep an eye on the coop itself. If you smell ammonia or see moisture on walls or windows, add ventilation and clean out the manure. Those signs show up before the birds do.
When to call a professional
- Call a licensed electrician for permanent wiring, outlets or any heated equipment you cannot safely set up with a short, approved cord.
- See a veterinarian for any bird with suspected frostbite, breathing trouble, or a change in behavior that does not improve once the coop is dry and warm enough.
Winterizing timeline
| When | Task |
|---|---|
| Early to mid November | Deep clean, seal drafts, set up vents |
| Before the first hard freeze | Install heated waterer, add deep bedding |
| All winter | Check water twice a day, stir bedding, collect eggs often |
| After freezing weather ends | Clean out deep bedding and refresh the coop |
Deep bedding makes some heat as it breaks down, but it needs a full clean-out in spring.
Sources
 Save
Frequently asked questions
Do chickens need a heater in the winter?
Often not. Extension guidance says extra heat is usually unnecessary when birds are acclimated, the coop is dry and draft-free, and ventilation is good. Heaters and heat lamps also add a real fire risk.
Should I close all the vents in the coop during winter?
No. Seal drafts at bird level, but keep vents open so moisture and ammonia can leave. A sealed coop leads to damp air, which raises the risk of frostbite and breathing problems.
How do I keep chicken water from freezing?
Use a heated waterer or a heated base made for poultry, and keep it off the bedding. Check it at least morning and evening, and keep a spare waterer to swap in.
What should I do if a chicken's comb turns gray or black?
Those are warning signs of frostbite. Move the bird somewhere warm, keep the area dry, and see a veterinarian, especially if you notice swelling or infection.